Getting Started
Quickstart
Unlock the potential of direct user engagement with our AI-enhanced forms—experience a surge in conversions outperforming traditional forms. This tutorial will guide you through embedding a smart form into your web app, swiftly, in about 10 to 15 minutes. Get set for a transformative interaction!
Create a free TypeflowAI Cloud account
While you can self-host TypeflowAI, the quickest and easiest way to get started is with the free Cloud plan. Just sign up here and click through the onboarding, until you’re here:
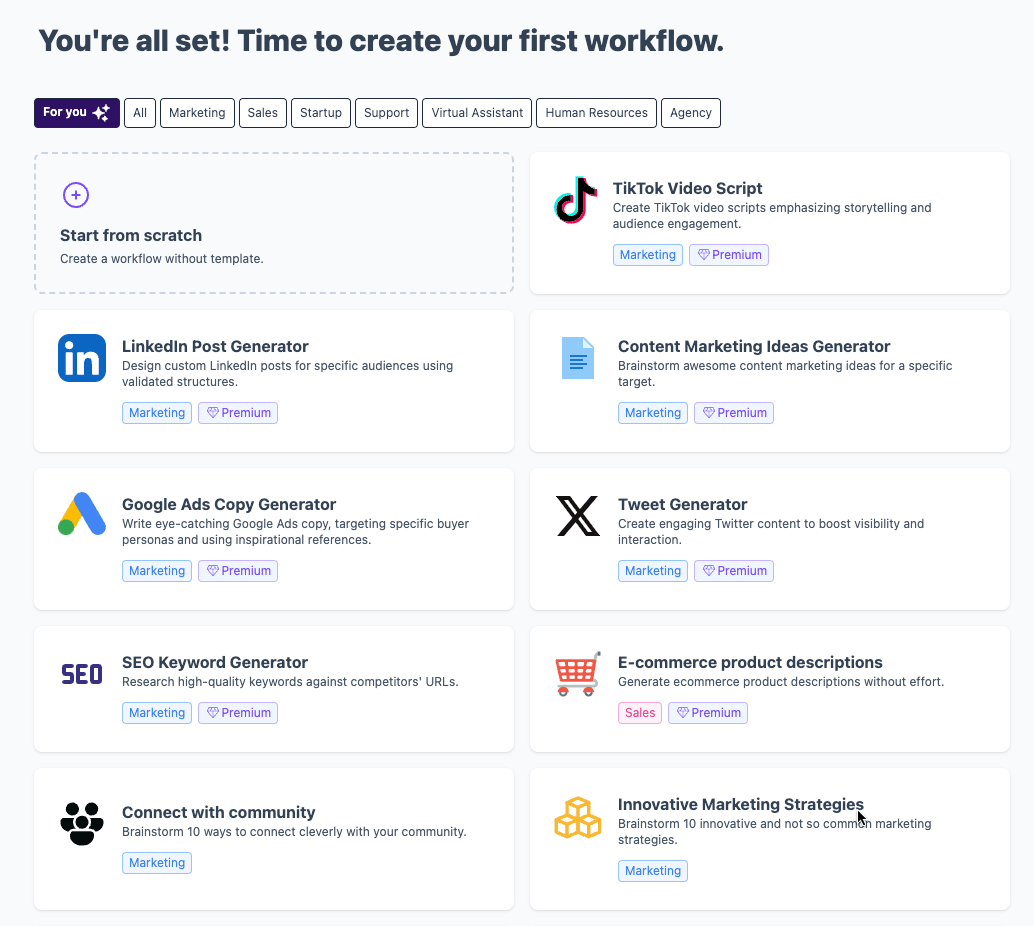
Create your first workflow
For creating your workflow you'll be able of creating it from scratch or simply choose a template.
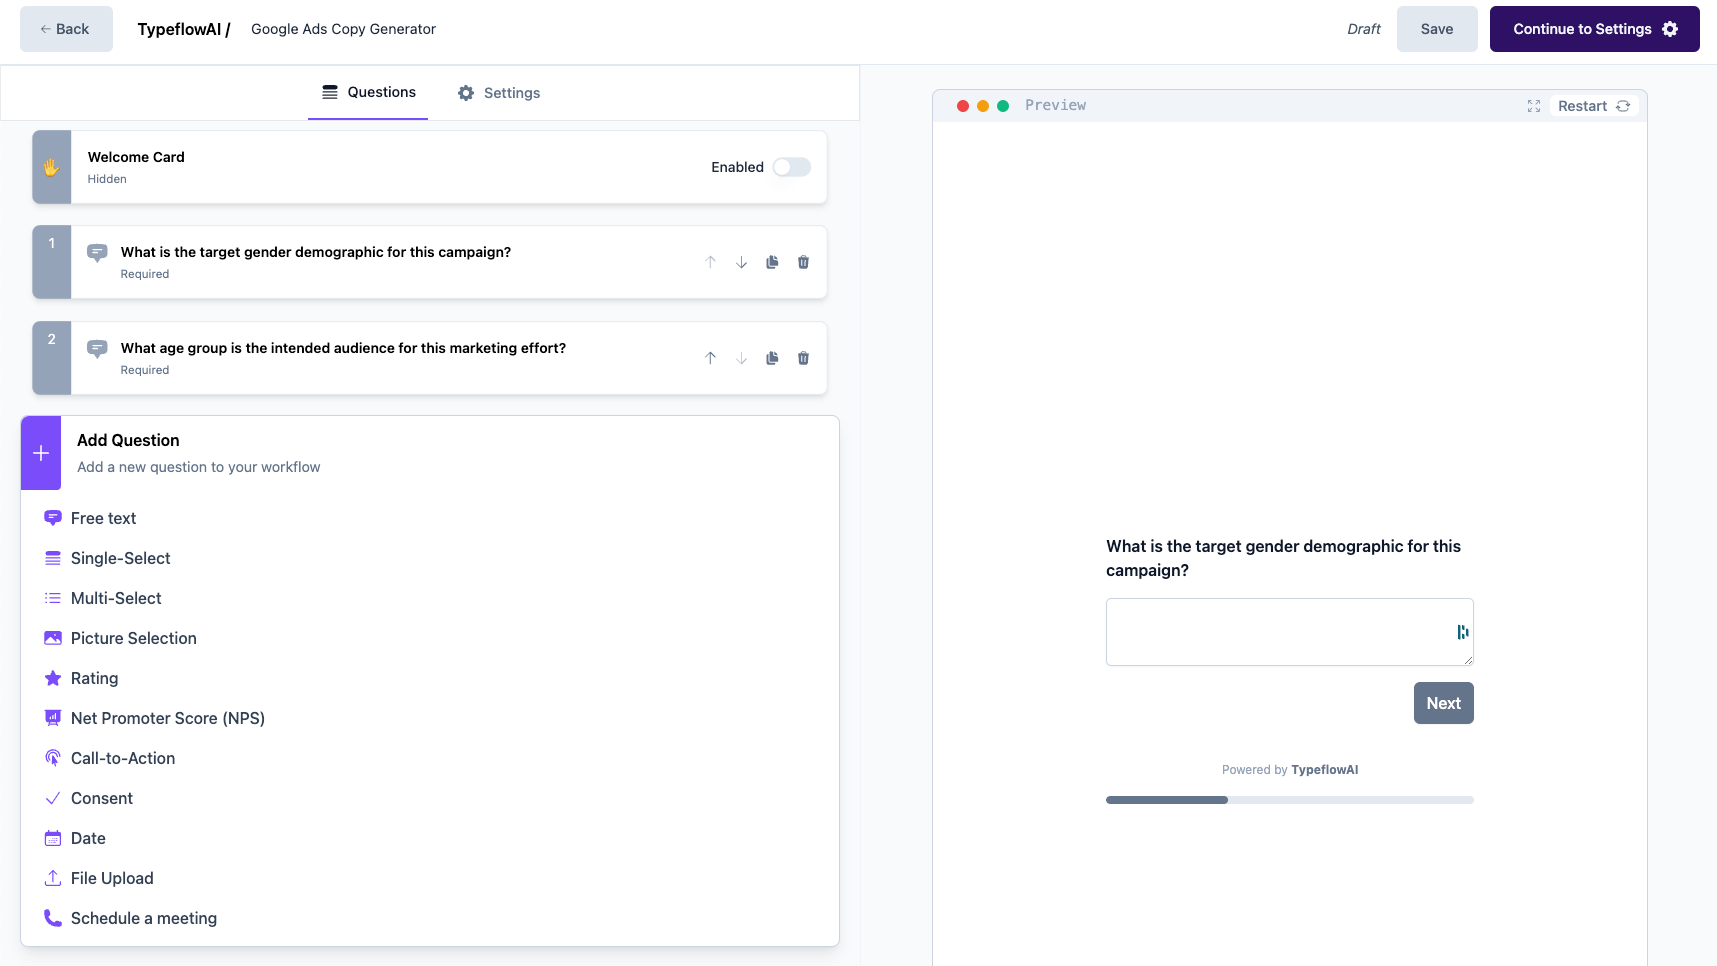
Once you have selected your template, you will be able to customize yor form by adding more questions or changing the existing ones:
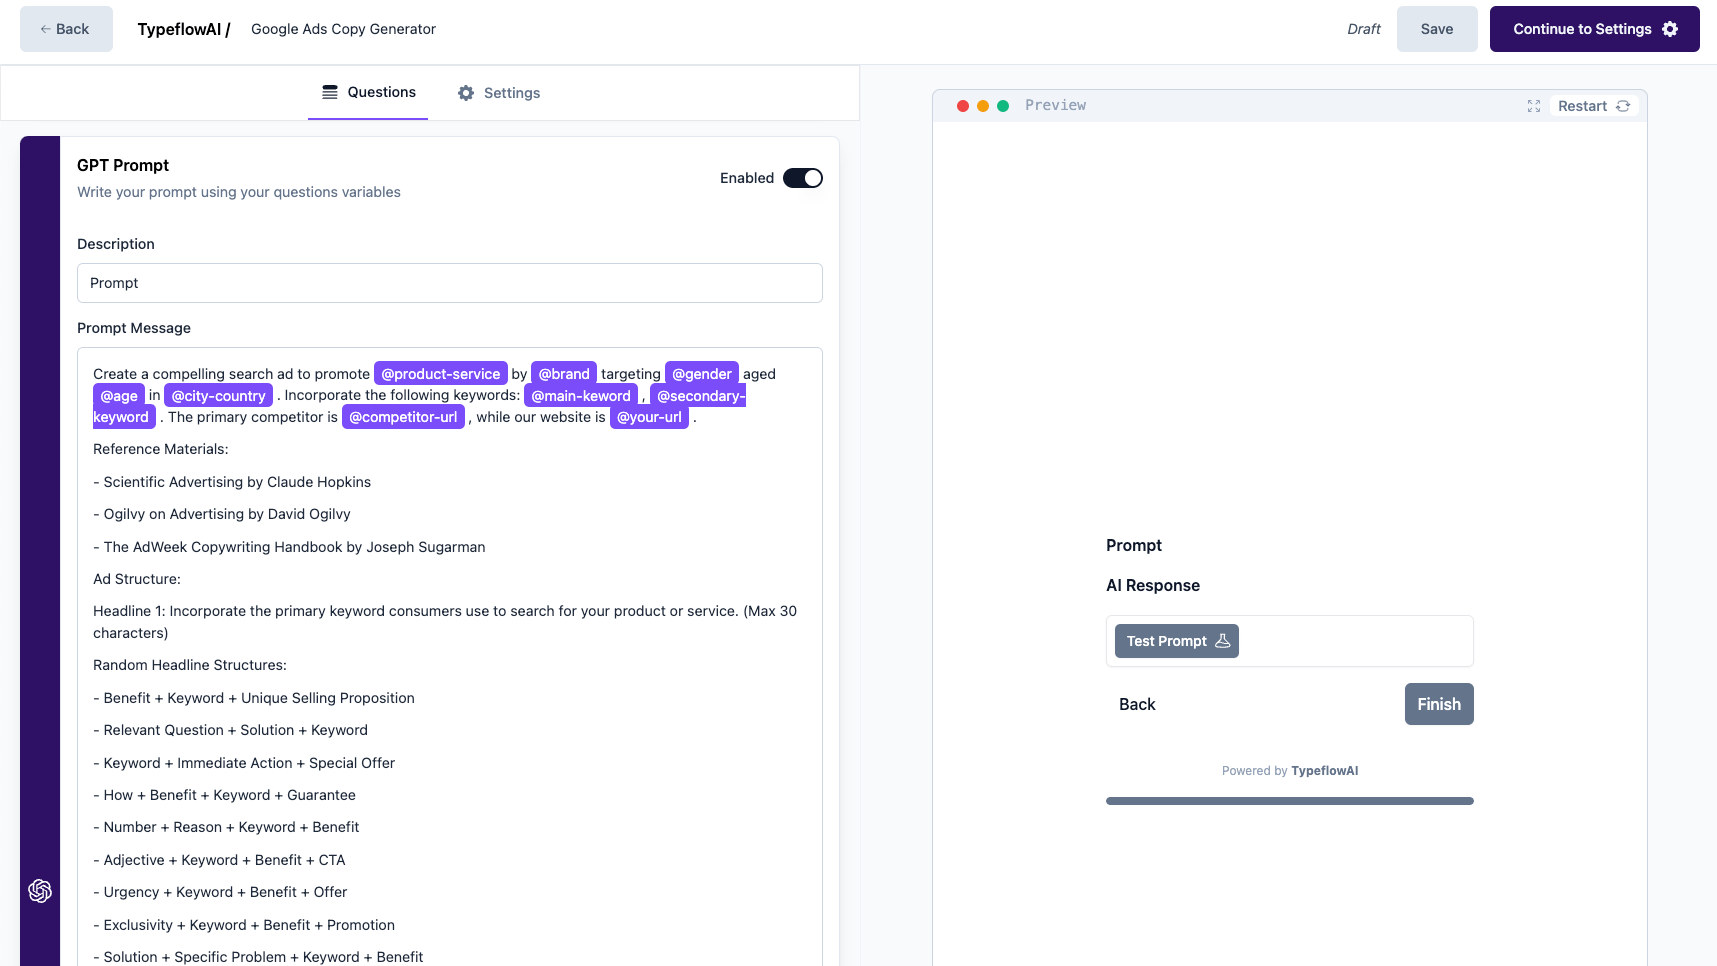
Finally, you can implement and configure the prompt for the workflow. You can customize the prompt to match with the questions over the workflow you are creating:
Now we'll head over to the workflow settings:
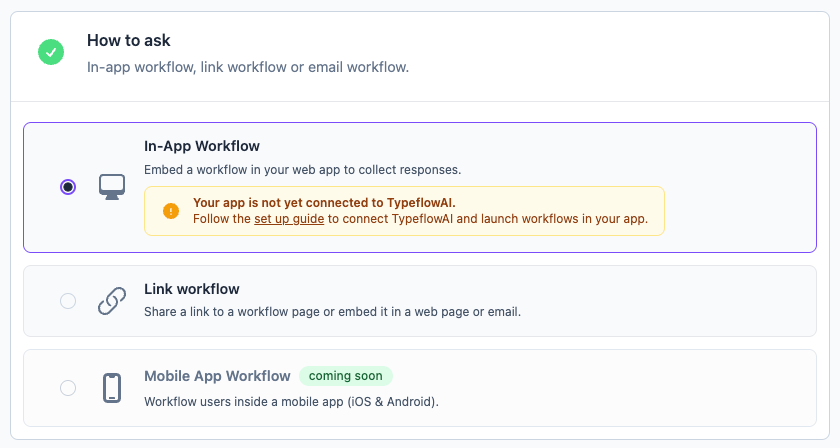
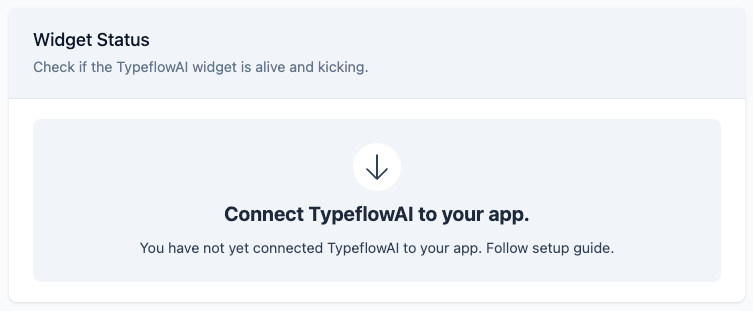
As you can see in the orange note here, we have not yet connected TypeflowAI Cloud with our app. We will do so in just a minute, let’s first setup the workflow correctly.
You can choose between In-App or Link workflow.
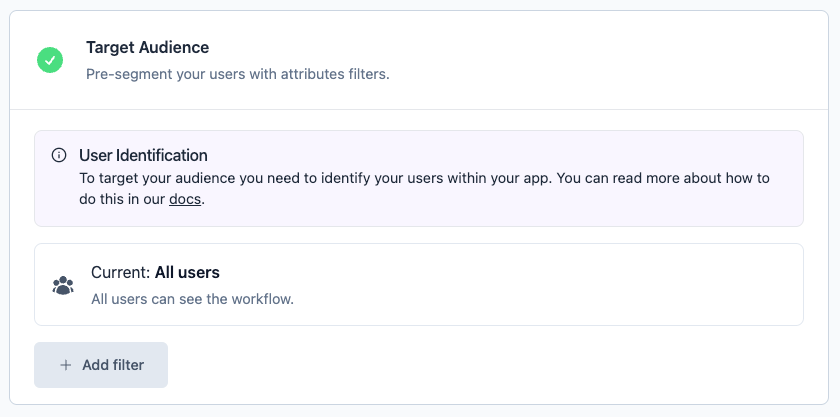
After that, you can set the target settings for the workflow, in case you want specify the audience that will see the workflow:
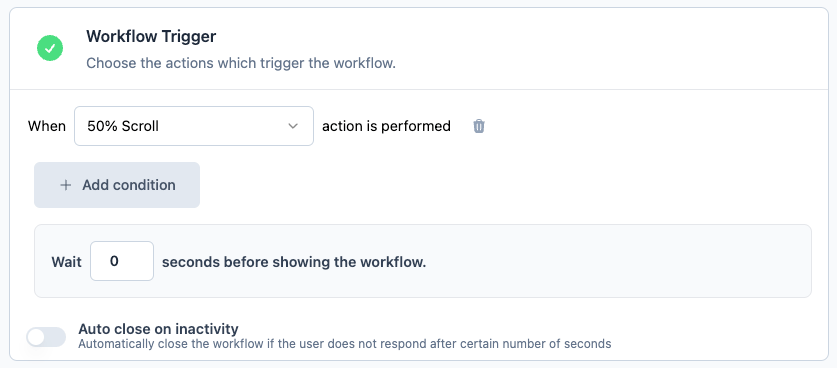
As we are creating an In-App workflow, we will set the trigger settings for the workflow. You can choose between the actions defined in the list, or even create a custom trigger for the workflow:
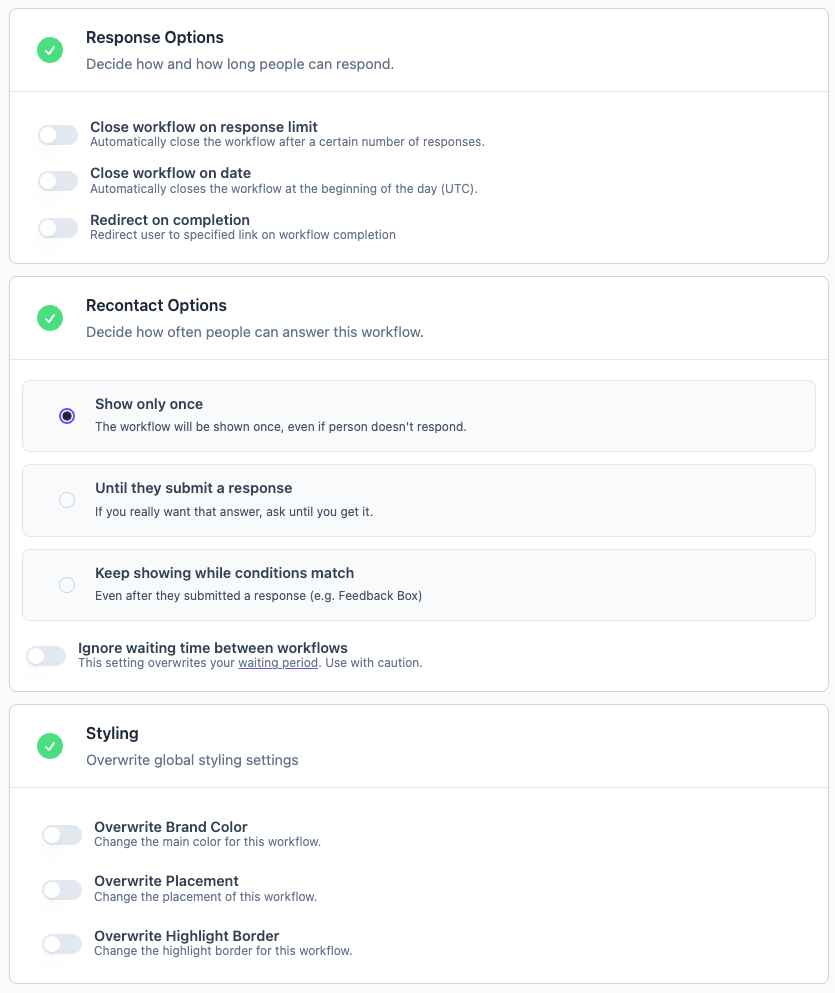
Finally, you can set the options and style settings for the workflow. You can customize the workflow to match with your app's style, or even define the behavior of the workflow, how many times it will be shown, etc:
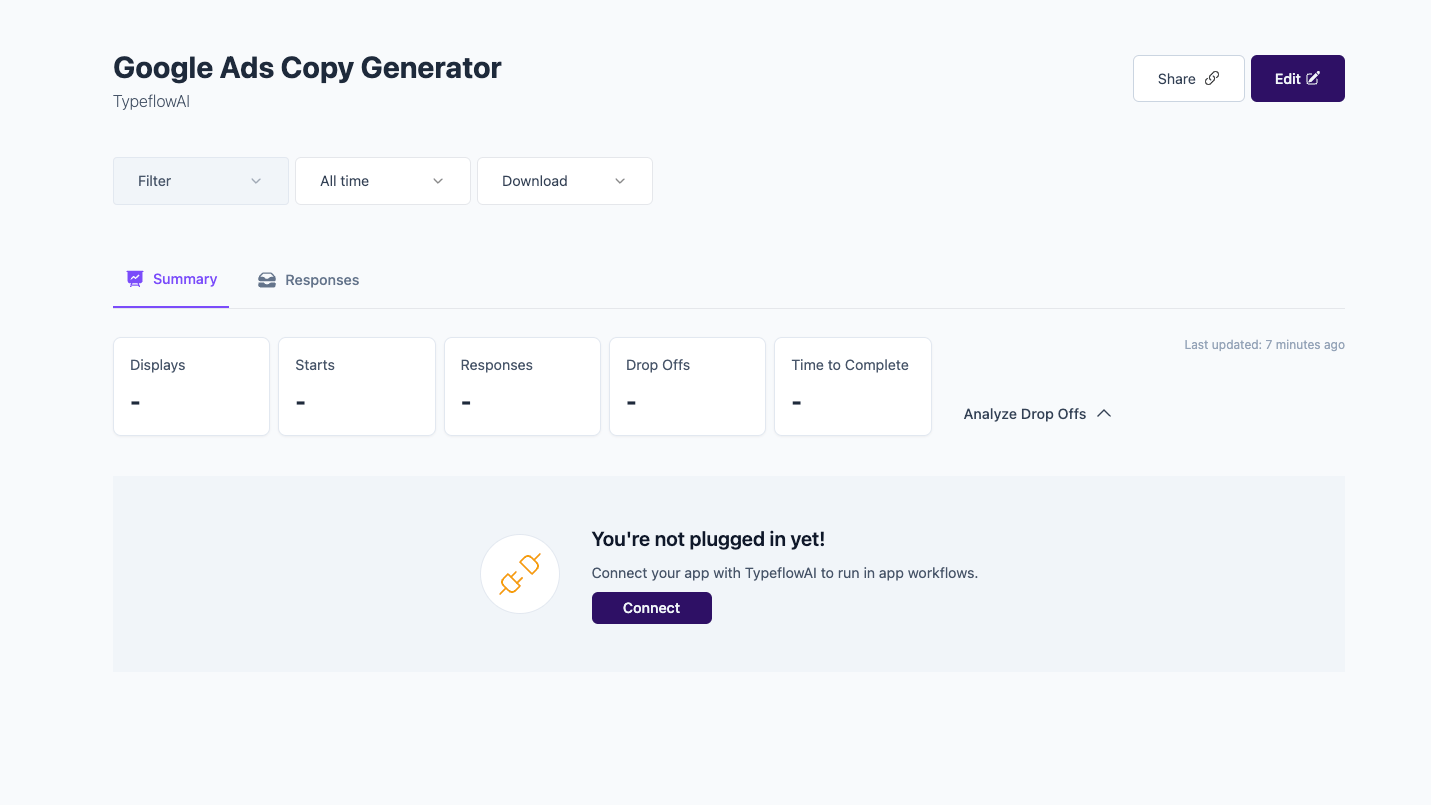
Now hit Publish and you’ll be forwarded to the Summary Page. This is where you’ll find the responses to this workflow. On the Summary Page click through to the Setup Checklist:
Set up the TypeflowAI Widget in your app
On the Setup Checklist you have two elements. At the top you find the Widget Status Indicator. Once your app is connected to TypeflowAI Cloud successfully, this will turn green:
In the manual below, this code snippet contains all the information you need:
- The Environment ID of your current TypeflowAI workspace
- The API Host which is ‘https://dashboard.typeflowai.com’ for Cloud users
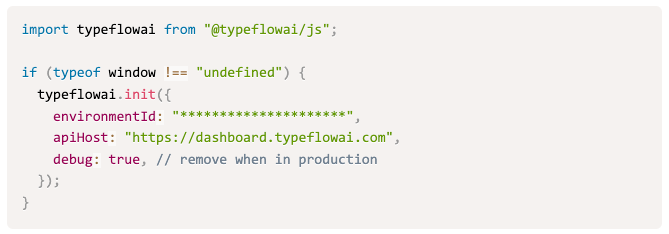
Load TypeflowAI widget in your app
In a local instance of your app, you'll embed the TypeflowAI Widget. Dependent on your frontend tech, the setup differs a bit: