Integrations
Google Sheets
The Google Sheets integration allows you to automatically send responses to a Google Sheet of your choice.
This feature is enabled by default in TypeflowAI Cloud but needs to be self-configured when running a self-hosted version of TypeflowAI.
Connect Google Sheets
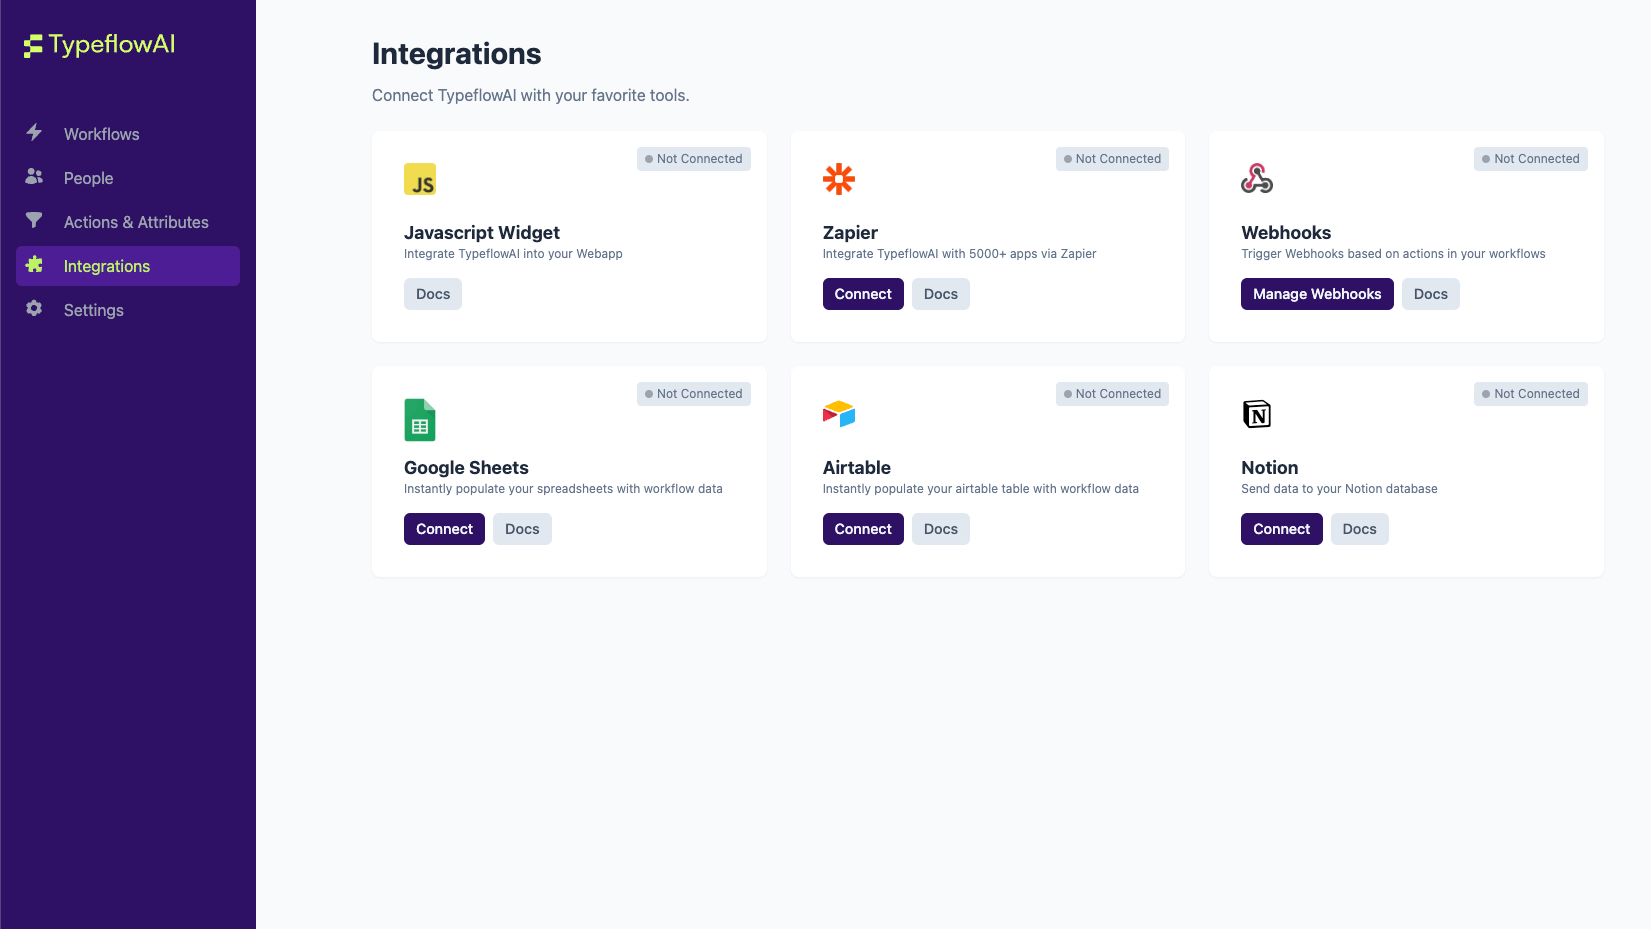
- Go to the Integrations tab in your TypeflowAI Cloud dashboard and click on the "Connect" button under Google Sheets integration.
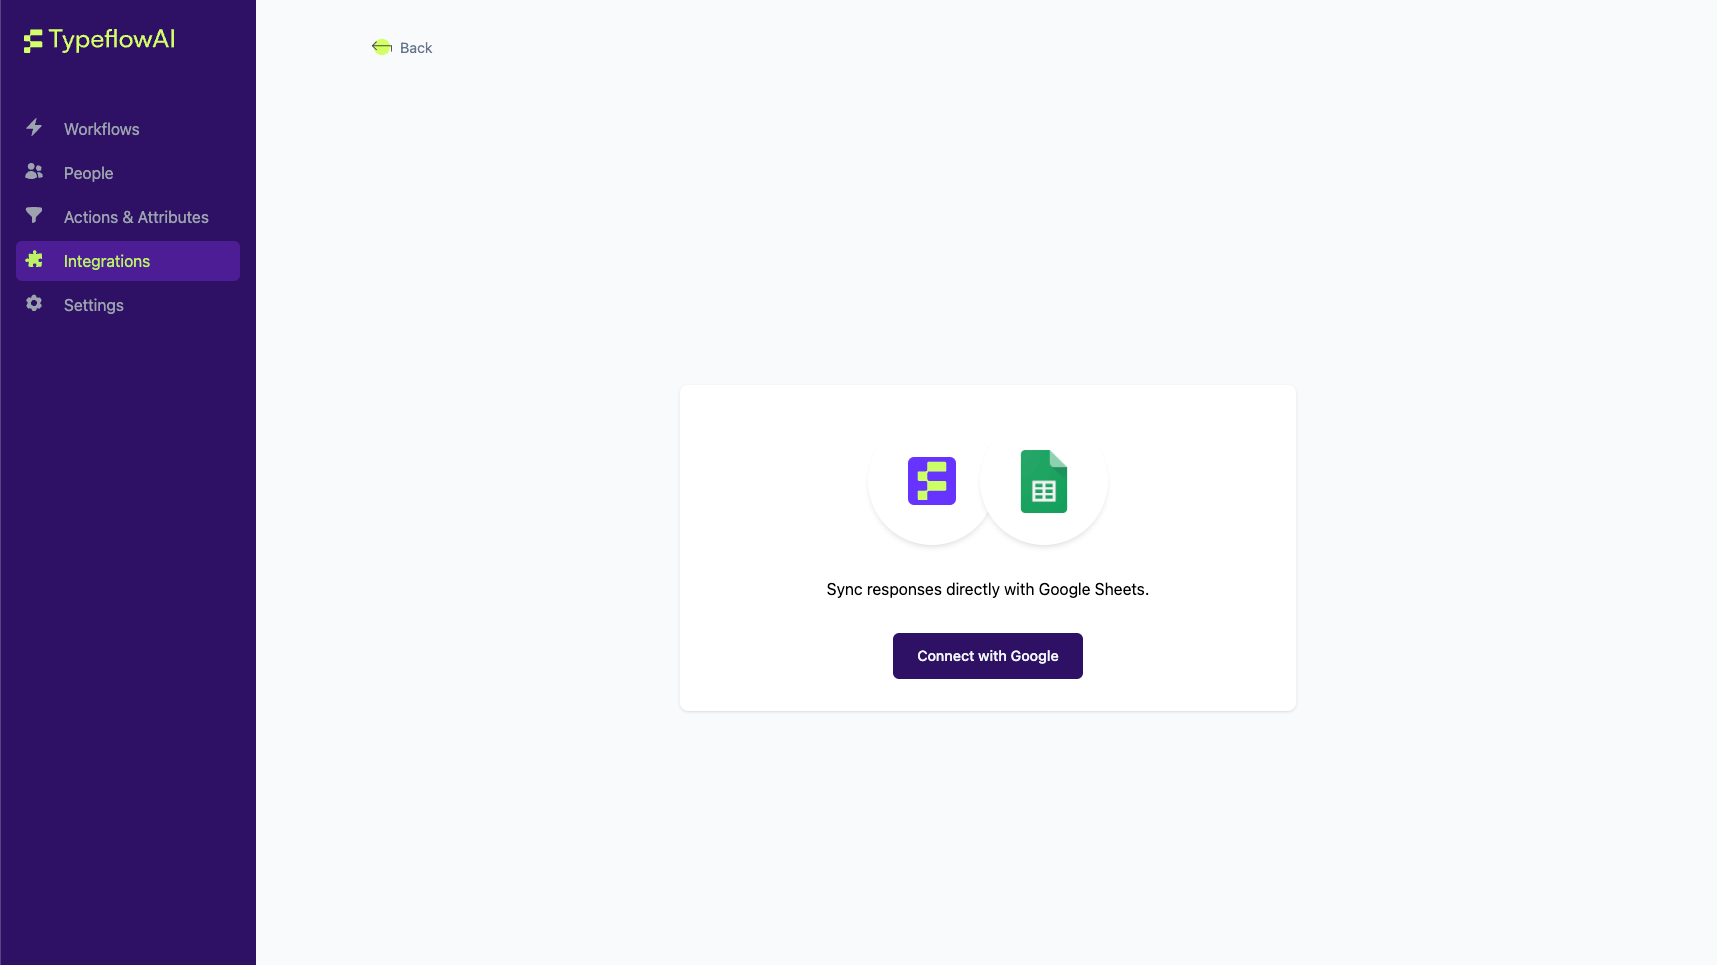
- Now click on the "Connect with Google" button to authenticate yourself with Google.
-
You will now be taken to the Google OAuth page where you can select the Google account you want to use for the integration.
-
Once you have selected the account and completed the authentication process, you will be taken back to TypeflowAI Cloud and see the connected status as below:
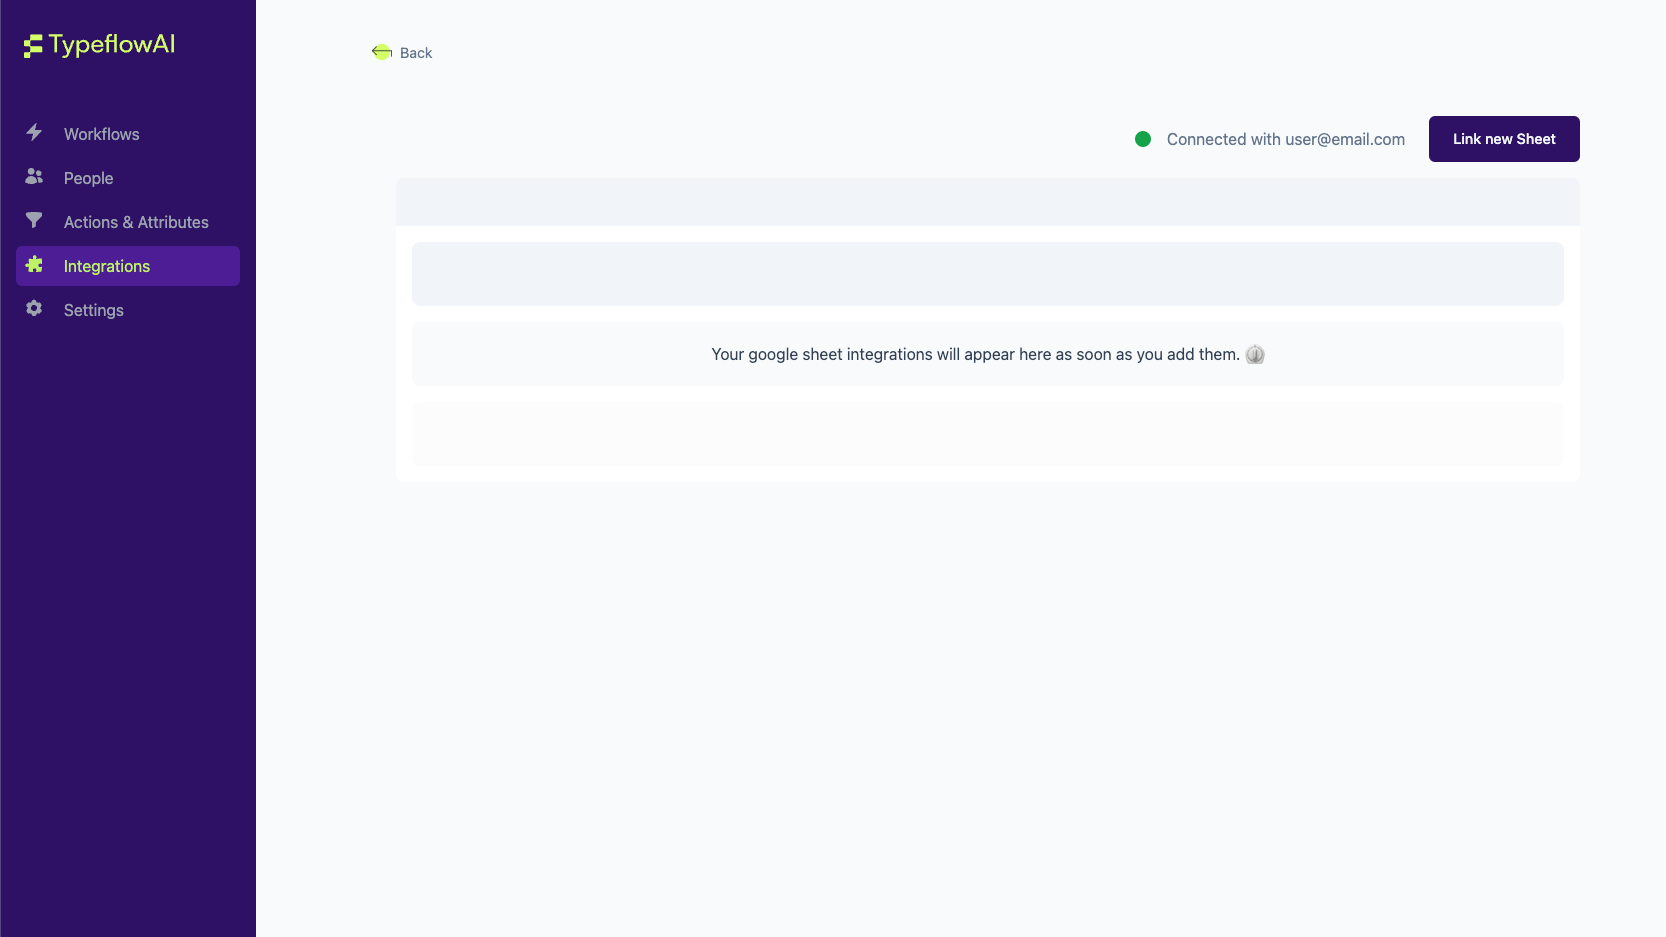
Before the next step, make sure that you have a TypeflowAI Workflow with at least one question and a Google Sheet in the Google account you integrated.
- Now click on the "Link New Sheet" button to link a new Google Sheet with TypeflowAI and a modal will open up.
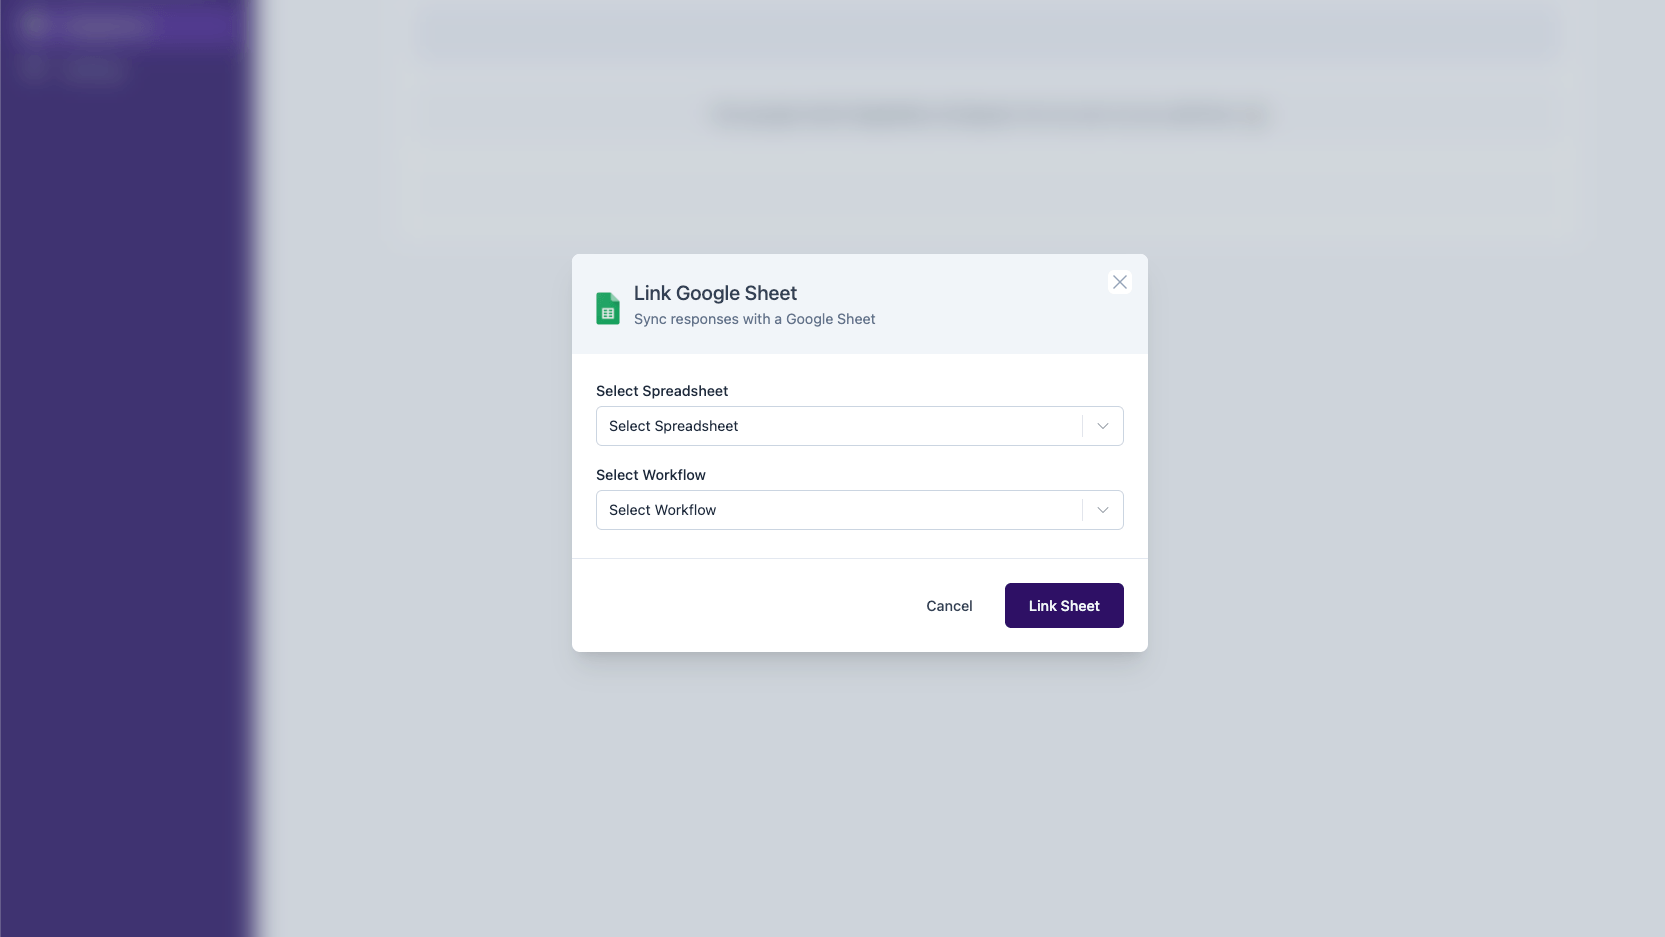
- Select the Google Sheet you want to link with TypeflowAI and the Workflow. On doing so, you will be asked with what questions' responses you want to feed in the Google Sheet. Select the questions and click on the "Link Sheet" button.
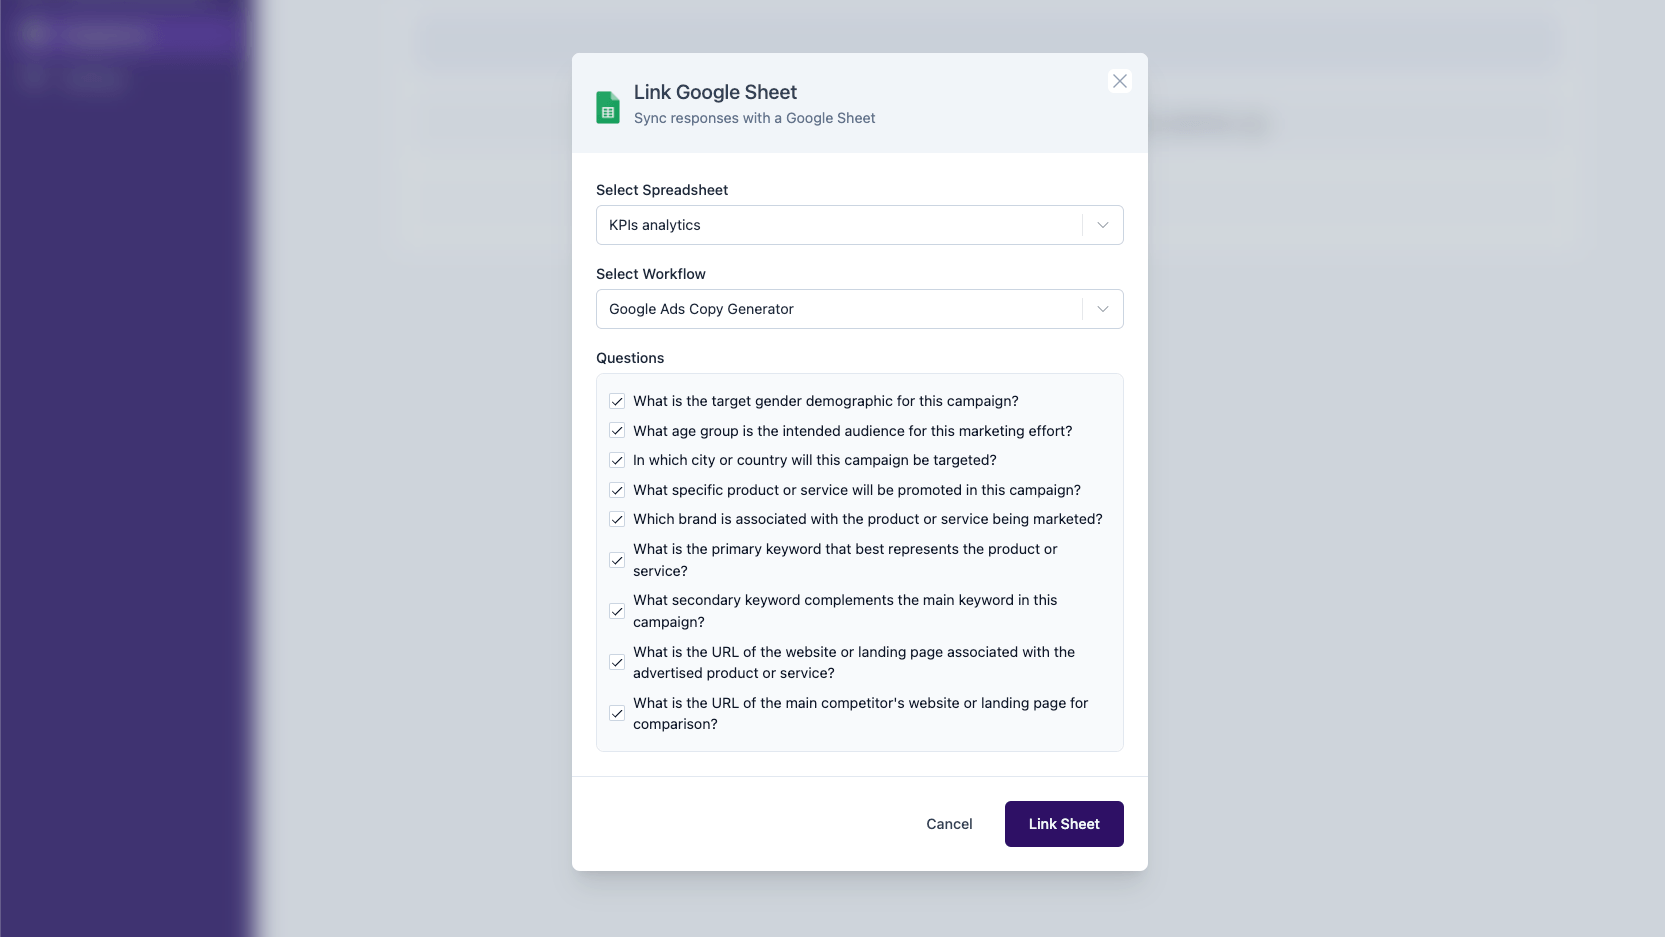
- On submitting, the modal will close and you will see the linked Google Sheet in the list of linked Google Sheets.
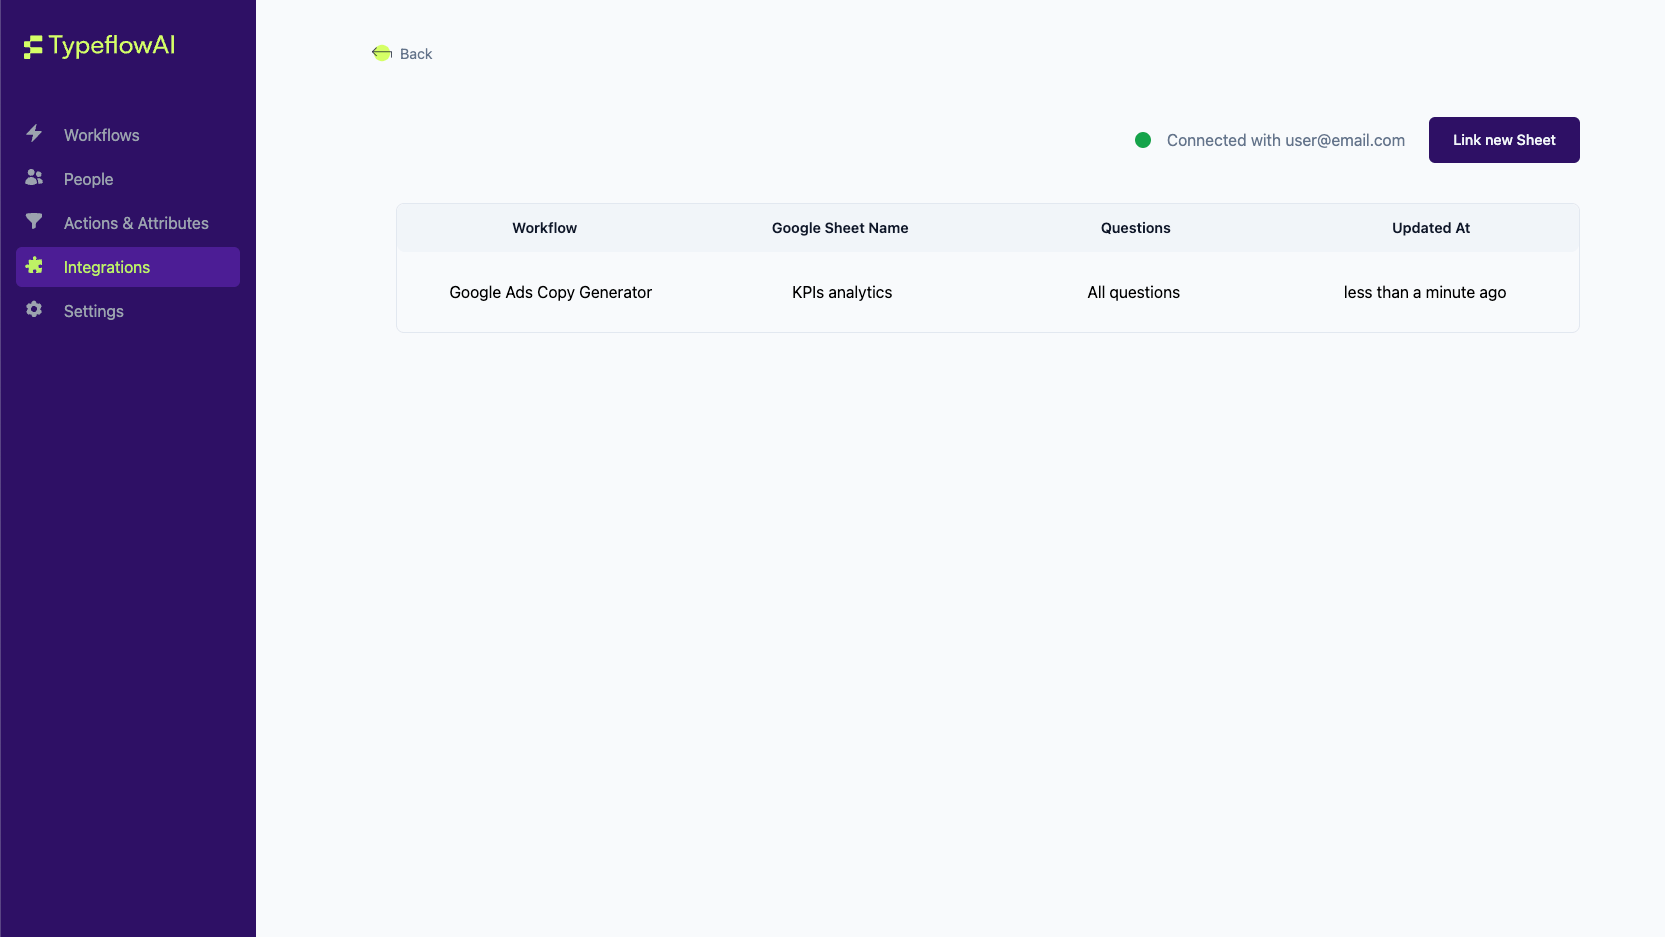
Congratulations! You have successfully linked a Google Sheet with TypeflowAI. Now whenever a response is submitted for the linked Workflow, it will be automatically added to the linked Google Sheet.
Setup in self-hosted TypeflowAI
Enabling the Google Sheets Integration in a self-hosted environment isn't easy and requires a setup using Google Cloud and changing the environment variables of your TypeflowAI instance.
We will first create a Google Cloud Project and then enable the Google Sheets API for it. Then we will create an OAuth Client ID and Client Secret for our TypeflowAI instance and set them as environment variables.
- Go to the Google Cloud Console and create a new project.
- Now select the project you just created and go to the "APIs & Services" section.
- Click on the "Enable APIs and Services" button and search for "Google Sheets API" and enable it.
- Now go to the "OAuth Consent screen" section and select the "External" User Type if you want any Google User to be able to use the integration or select "Internal" if you want only the users of your Google Workspace to be able to use the integration.
- Now provide it the details such as
- App name (Will show up in the OAuth modal when the user is asked to authenticate with Google)
- User support email (ideally should be your email for any support queries by the Users or Google)
- Developer contact information (ideally should be your email for any support queries by Google)
- Now click on the "Save and Continue" button and you will be taken to the Scopes step.
- Click on the "Add or Remove Scopes" button and add the scopes
https://www.googleapis.com/auth/userinfo.email,https://www.googleapis.com/auth/spreadsheets&https://www.googleapis.com/auth/driveand click on the "Update" button: - Now Verify the scopes and click on the "Save and Continue" button.
- Now go to the "Test Users" section, skip the step, and click the "Save and Continue" button.
- You will now be shown a summary of the OAuth Consent Screen. Verify the details and Click on the "Back to Dashboard" button.
- Now go to the "Credentials" section and click on the "Create Credentials" button and select "OAuth Client ID".
- Select "Web Application" as the Application Type and provide it a name (this name will not be visible to your end users).
- Now add your public facing URL in the "Authorized JavaScript Origins" section:
- https://
<your-public-facing-url>
- https://
- Now add the following URL in the "Authorized redirect URIs" section and click on the "Create" button:
- https://
<your-public-facing-url>/api/google-sheet/callback
- https://
- You will now be shown the Client ID and Client Secret. Copy them and set them as the environment variables in your TypeflowAI instance as:
GOOGLE_SHEETS_CLIENT_ID- Client IDGOOGLE_SHEETS_CLIENT_SECRET- Client Secret
- Also use the same Authorized redirect URI in the
GOOGLE_SHEETS_REDIRECT_URLenvironment variable.
By now, your environment variables should include the below ones as well:
GOOGLE_SHEETS_CLIENT_IDGOOGLE_SHEETS_CLIENT_SECRETGOOGLE_SHEETS_REDIRECT_URL
Voila! You have successfully enabled the Google Sheets integration in your self-hosted TypeflowAI instance. Now you can follow the steps mentioned in the TypeflowAI Cloud section to link a Google Sheet with TypeflowAI.
Remove Integration with Google Account
To remove the integration with Google Account,
- Visit the Integrations tab in your TypeflowAI Cloud dashboard.
- Select "Manage" button in the Google Sheets card.
- Click on the "Connected with
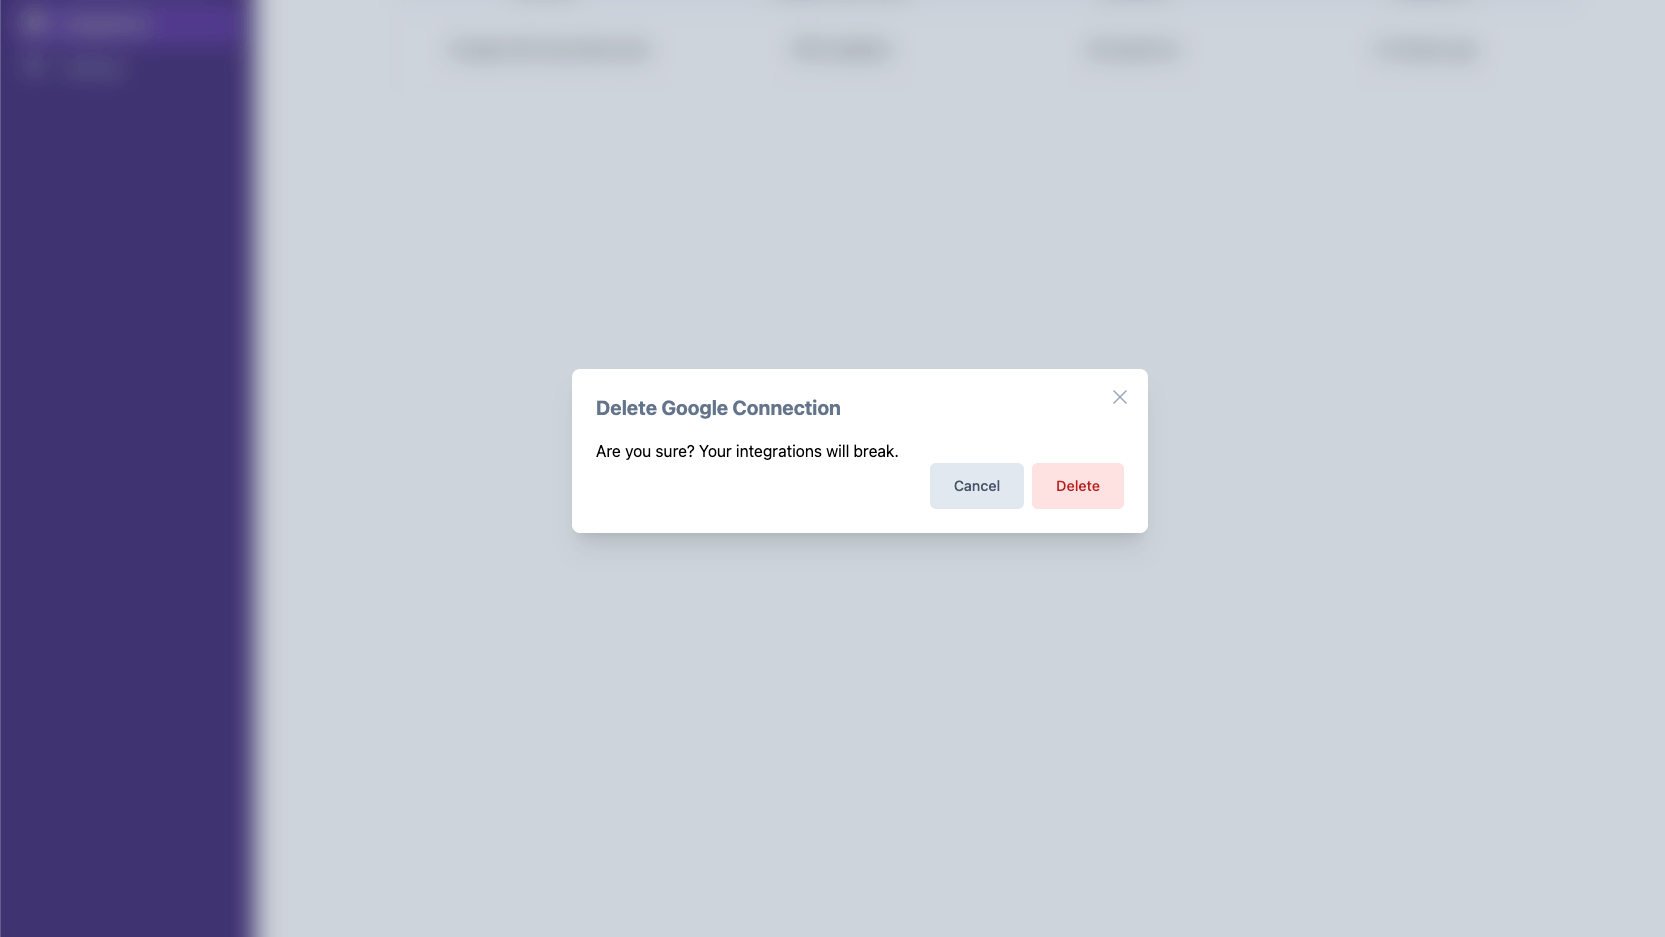
<your-email-here>" just before the "Link new Sheet" button. - It will now ask for a confirmation to remove the integration. Click on the "Delete" button to remove the integration. You can always come back and connect again with the same Google Account.
What data do you need?
- Your Email ID for authentication (We use this to identify you)
- Your Google Sheets Names and IDs (We fetch this to list and show you the options of choosing a sheet to integrate with)
- Write access to selected Google Sheet (The google sheet you choose to integrate it with, we write workflow responses to it)
For the above, we ask for:
- User Email: To identify you (that's it, nothing else, we're opensource, see this in our codebase here)
- Google Drive API: To list all your google sheets (that's it, nothing else, we're opensource, see this method in our codebase here)
- Google Spreadsheet API: To write to the spreadsheet you select (that's it, nothing else, we're opensource, see this method in our codebase here)
We do not store any other information of yours! We value Privacy more than you and rest assured you're safe with us!

